Gates
Create a Gate
Step-by-step guide to building your first paywall gate in OnePaywall.
Step 1 — Open the gate builder
Go to Dashboard → Gates → New gate.
Give your gate a descriptive name (e.g. "Premium articles paywall" or "Newsletter gate").
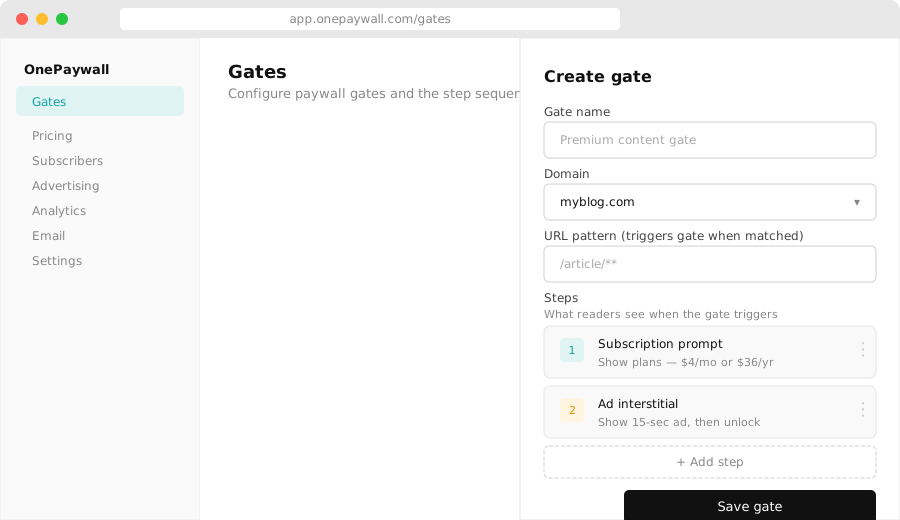
Step 2 — Set up triggers
Triggers define which URLs activate this gate. Go to the Triggers tab.
Add one or more URL rules:
| Rule type | Example | What it matches |
|---|---|---|
| Exact path | /articles/my-post | Only that exact URL |
| Path prefix | /articles/* | All URLs starting with /articles/ |
| Domain-wide | * | Every page on the domain |
See Triggers for advanced pattern syntax.
Step 3 — Add gate steps
Go to the Steps tab. Steps define what the reader sees when the gate fires. You can add multiple steps — readers progress through them if they decline earlier ones.
Available step types:
- Subscription — show a subscription offer with your pricing plans
- Article unlock — let the reader pay for just this article
- Ad — show a video or display ad as the price of access
- Lead capture — ask for an email address in exchange for free access
- Digital product — prompt the reader to purchase a downloadable file
See Gate steps for details on configuring each type.
Step 4 — Save and publish
Click Save. The gate is now live and will fire for any URL matching your trigger rules.
To pause a gate without deleting it, open the gate and toggle it off.
Tips
- Start with a single Subscription step to test conversion before adding fallback steps
- Use Ad as a fallback step for readers who are unlikely to subscribe — it keeps them monetised
- Add a Lead capture step last to grow your email list from readers who won't pay at all